Having recently completed the mods to my Bravo v2 hybrid tube amp, I felt the itch to mod the headphone amp I use at home, my Gemtune APPJ PA1502A. This amp provides full tube amplification instead of a hybrid design. I picked this amp from Massdrop at a very reasonable price. Unlike the Bravo, this promised to be an amp that did not need mods, only a good set of tubes to bring it to life. Stock the sound was crystal clear, but too flat in the lower ends for me, expanding the bass would be a priority. Upgrading to better tubes made a world of difference. Once I had broken in the new set of tubes I decide to perform a small mod and upgrade the inter-stage coupling caps, this sound deepen the bass even further.

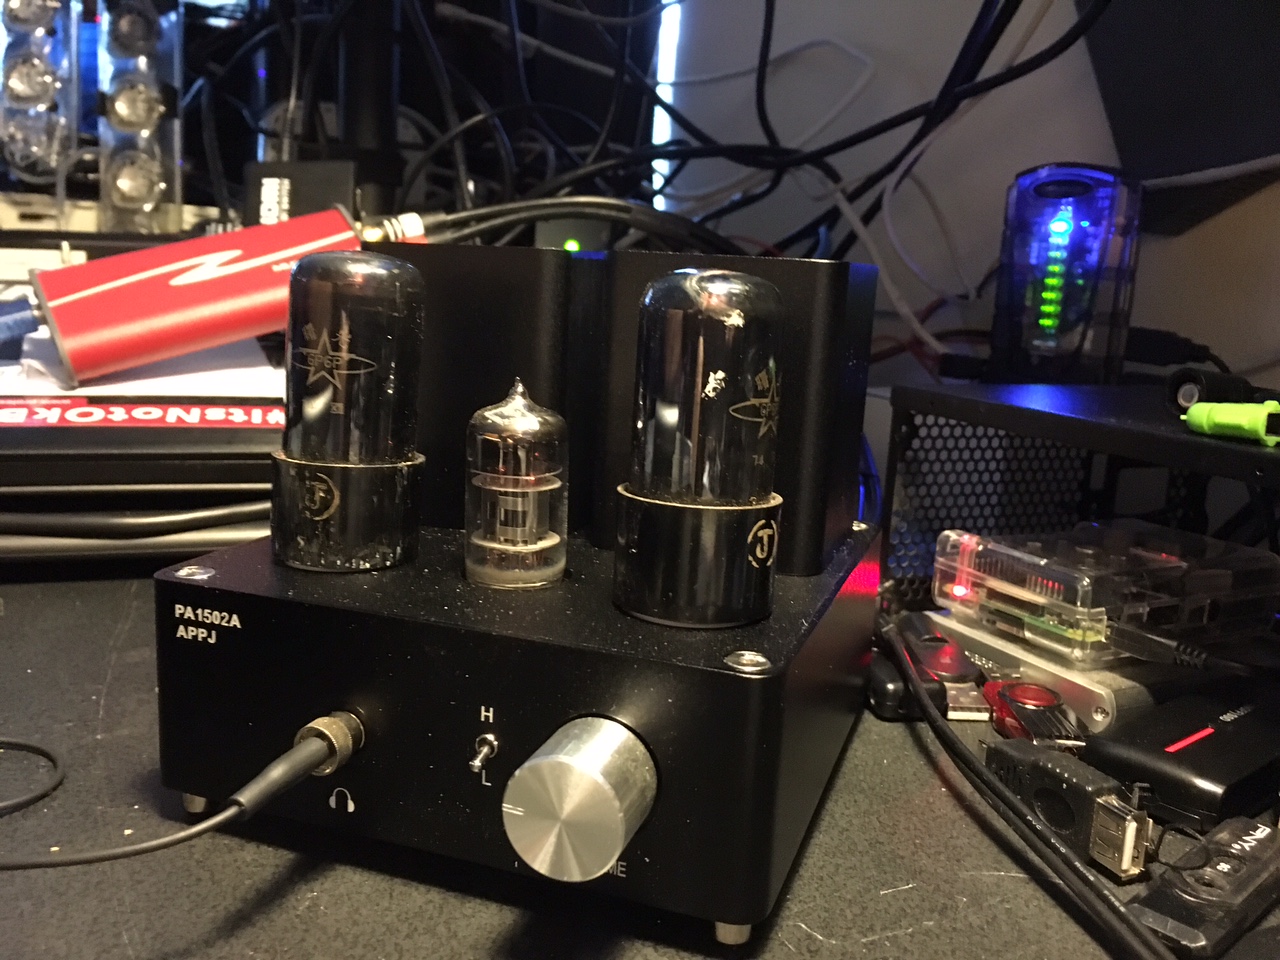
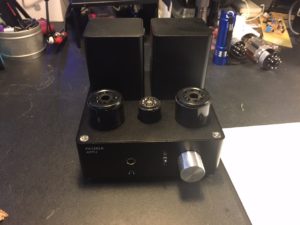
Stock Gemtune APPJ PA1502A with the original tubes
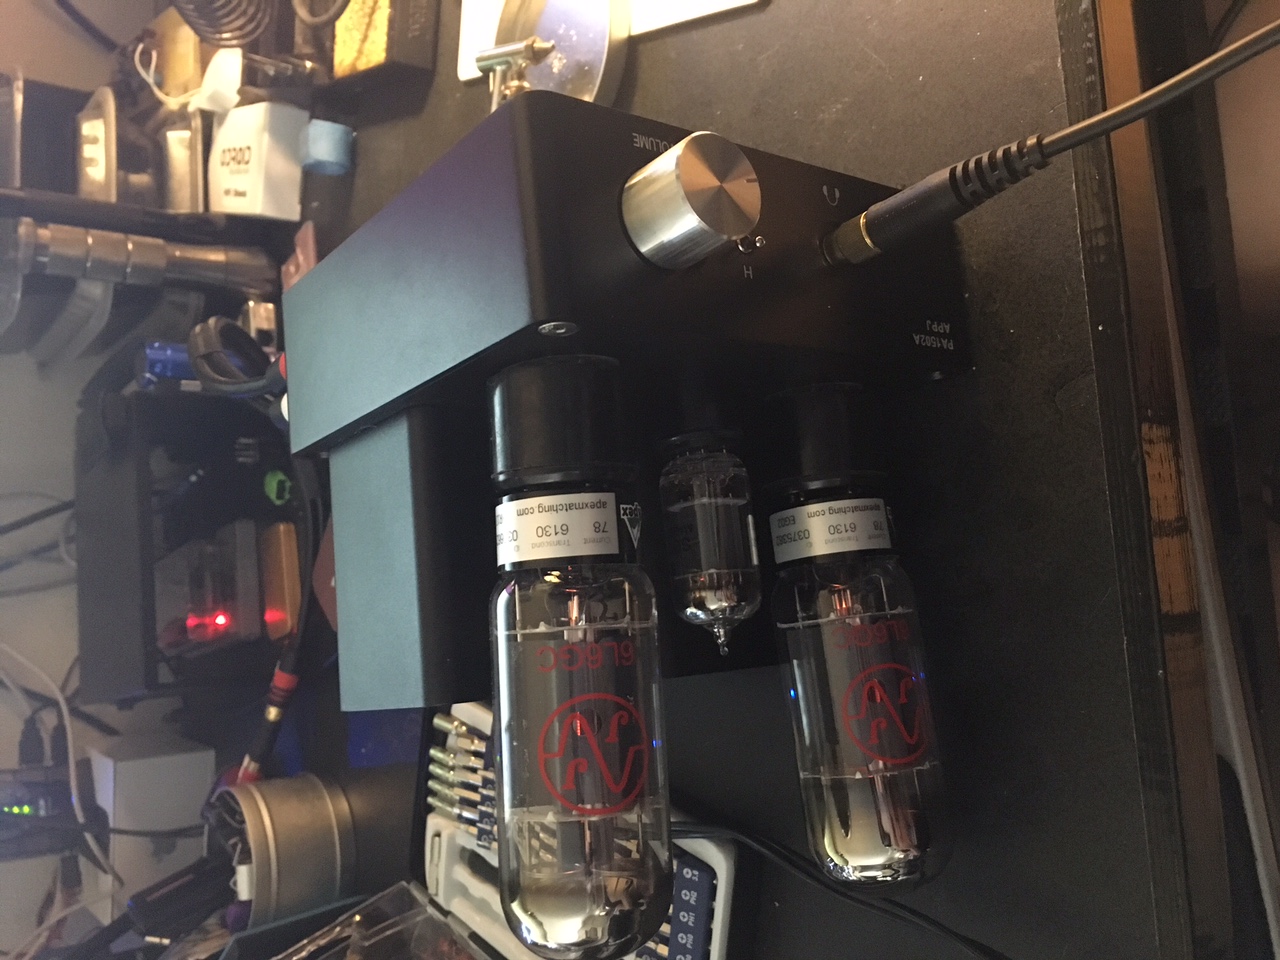
Rolling New Tubes
This is the easiest mod that one can perform, replacing the tubes with better ones. Replace the 6N4 with a 12AX7 or 5751 type tube. I’m currently running a Sovtek 5751. Next the two 6P6Ps should be replaced with a pair of good quality 6V6s or 6L6s. I have a set of Tung-Sol 6V6GTs and a set of JJ Electronics 6L6GCs that I have tried in the amp. Both sound great, but I am a fan of the 6L6s. The 6L6 is both physically larger and a more electronically demanding tube, but one that the circuit specs state it can handle. They will put out more heat, so if that’s a concern, stick with the 6V6.
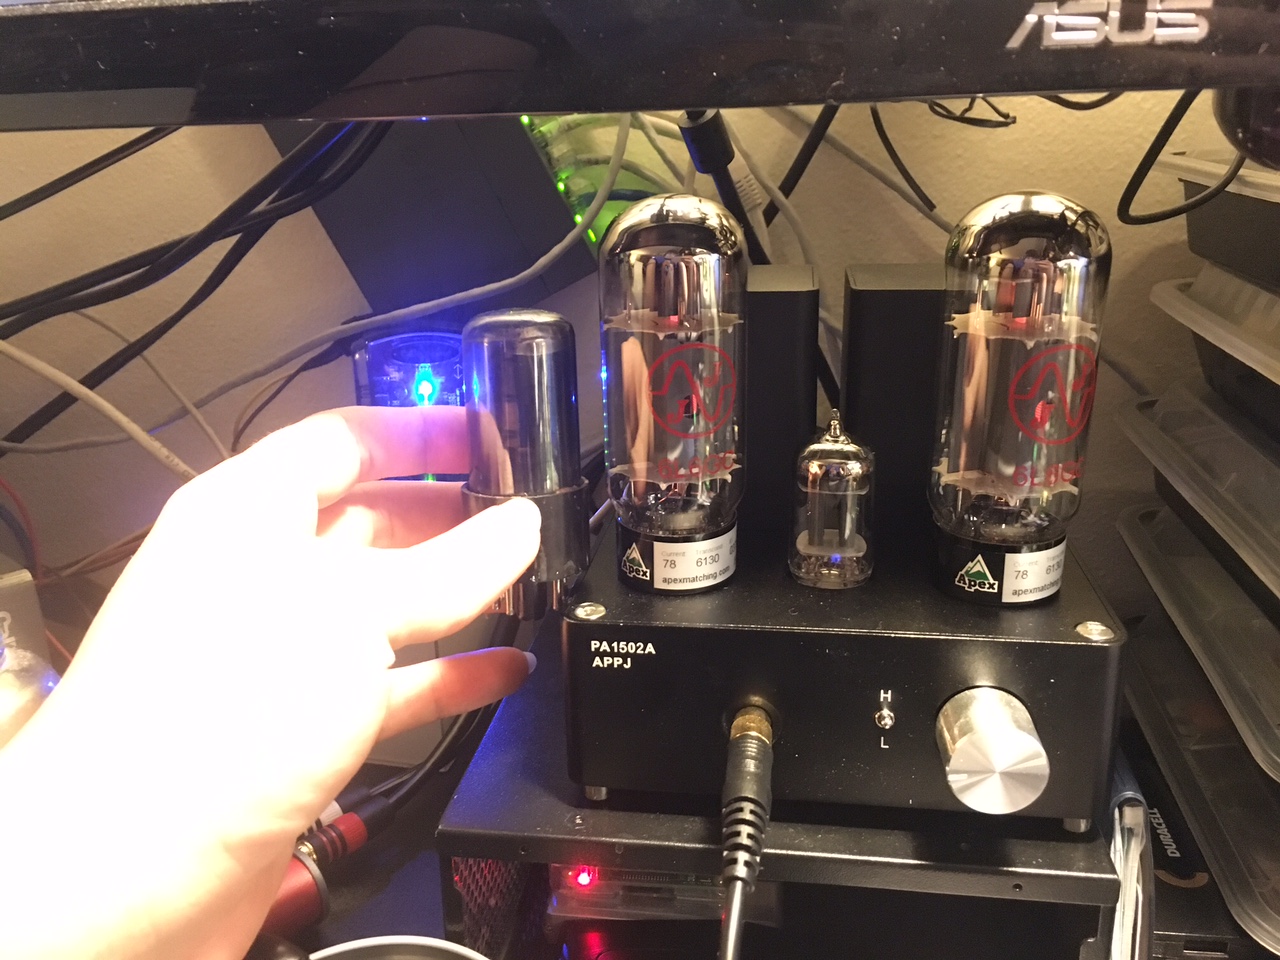
The 6L6GC is a much larger tube than the 6P6P
I have also added tube risers. The stock tube connectors are only secured through solder and I had some fear of damaging them when swapping tubes. I added tube risers that take the brunt of the force when swapping tubes around.
Tube risers
Once the tubes were swapped and broken in I was very happy. Break in time seems to be very important for amps such as this. When I first got the amp I had to run it for at least a few hours before it started to sound right. Once I swapped the tubes and let it warm up for another few hours the sound was richer, bass was deeper, and still crystal clear. I’ve read that these amps and any new tubes need to be burned in for at least 48 hours, so expect slight improvements until burn in is complete.
Replacing the Inter-Stage Coupling Capacitors
This is a very simple mod, one that should increase the deepness of the bass, making the amp a bit more lively. I debated performing this mod as I was already very happy with the amp and the 6L6 mod fixed the flatness from the lower end. The inter-stage coupling circuit for this amp uses two 0.1uF 400V ceramic capacitors, these can be replaced with 0.47uF 400V capacitors.
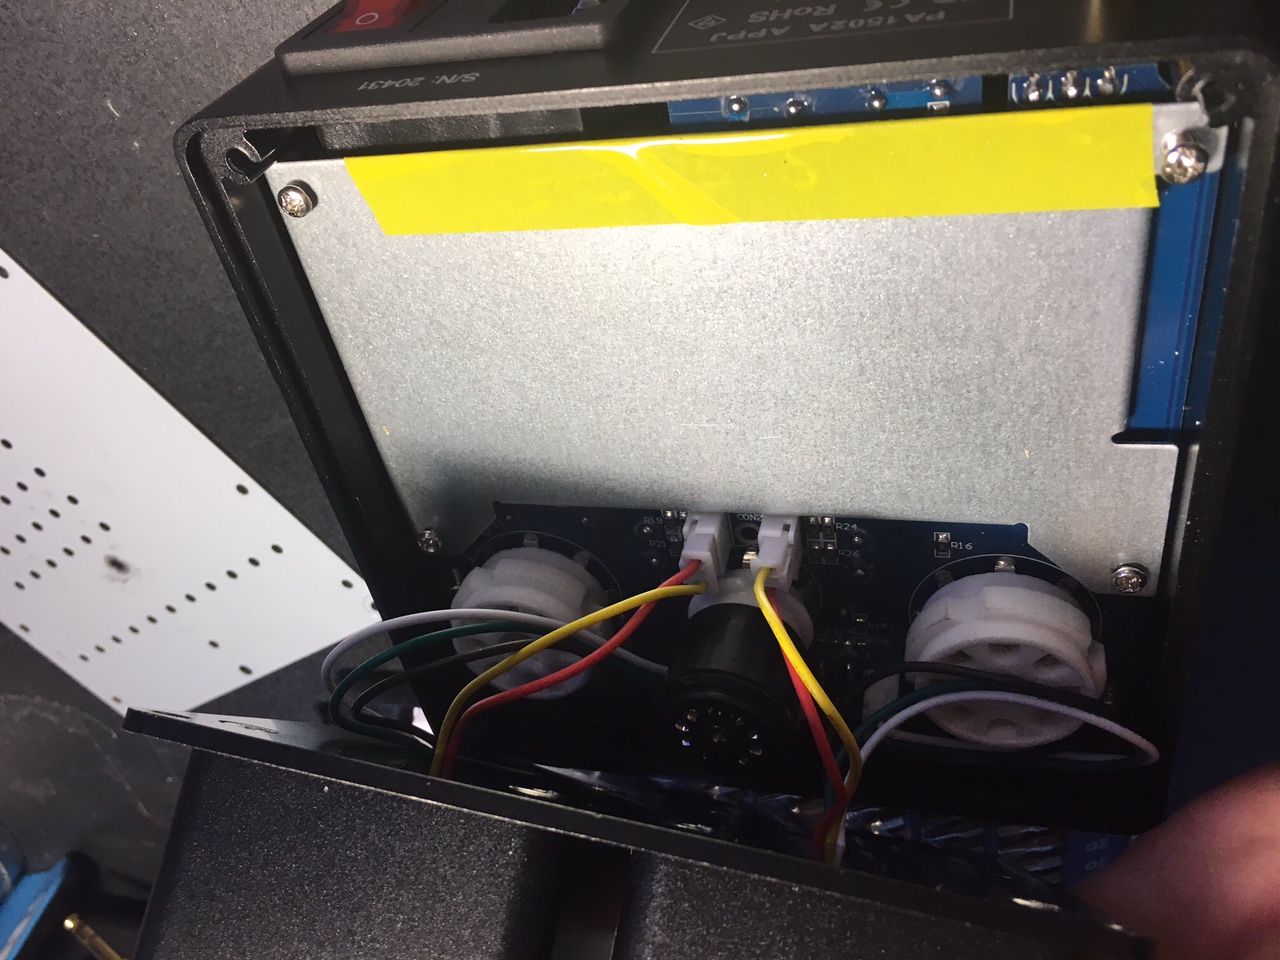
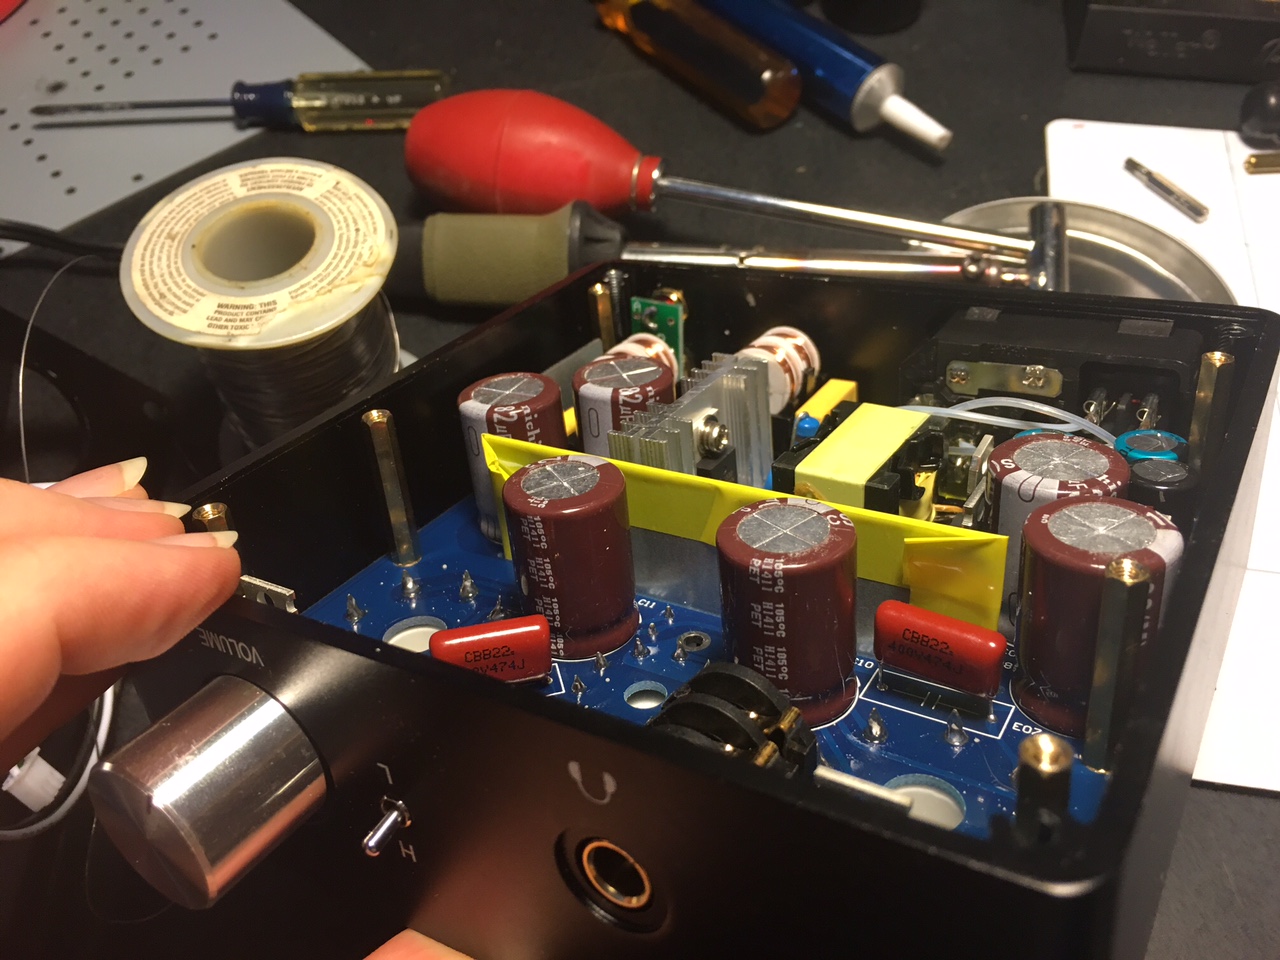
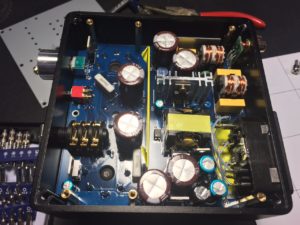
First we need to remove the four screws holding the top of the amp. This top also contains the transformers, which can easily be detached from the main circuit board through four plugs

Remove the four top screws to expose the top of the board. The plugs for the transformed will unplug easily.
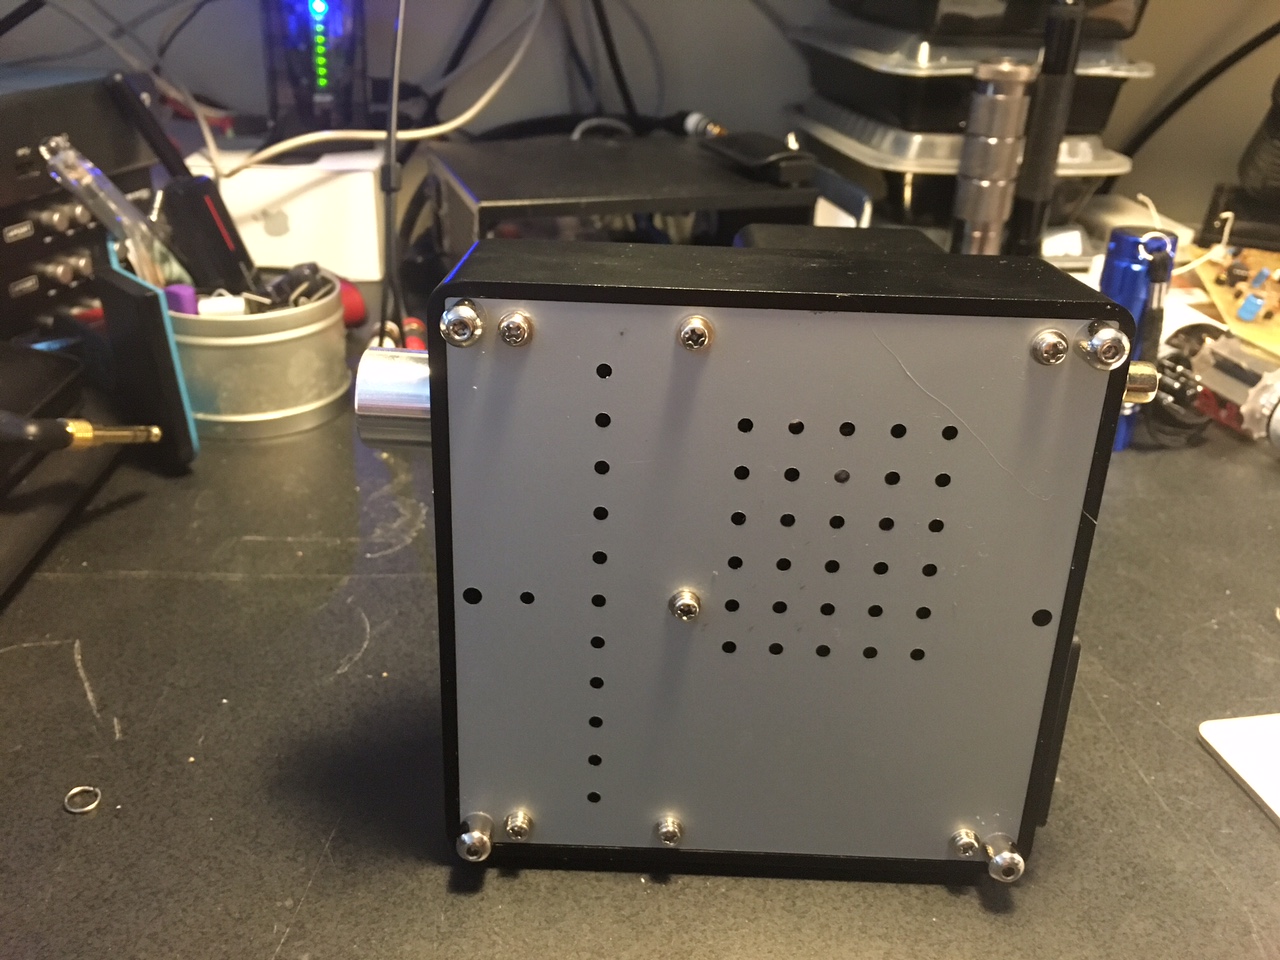
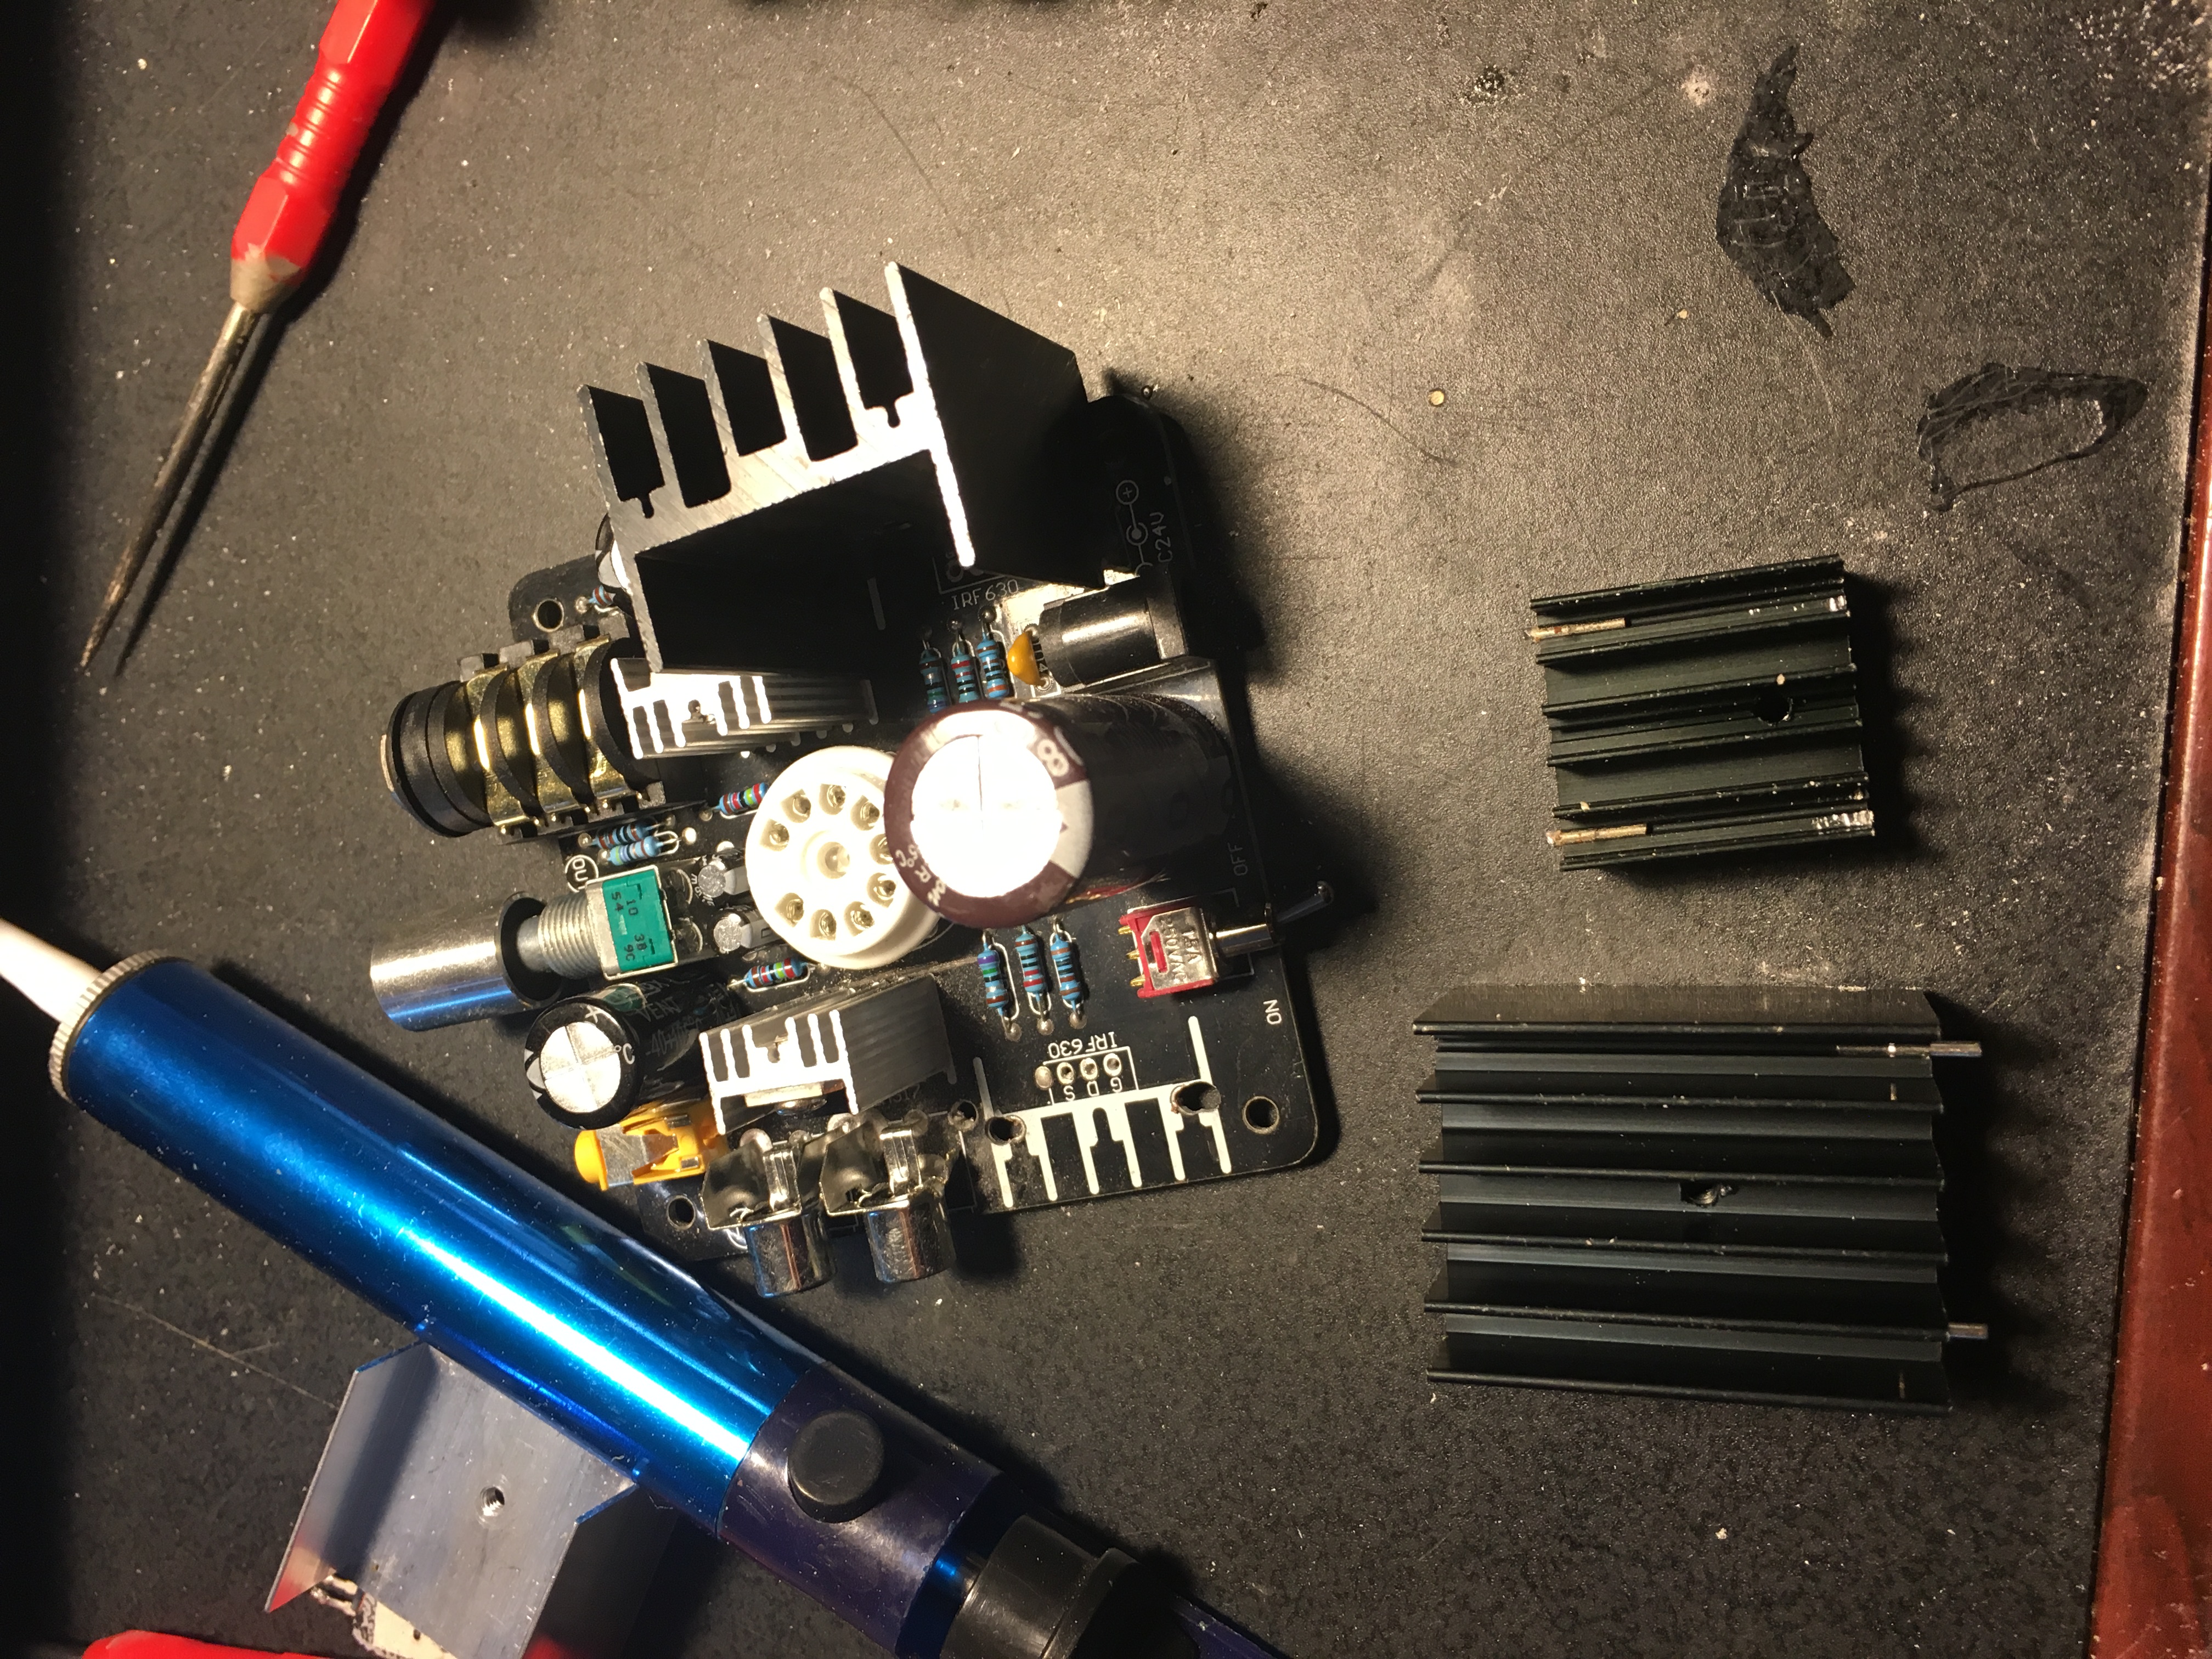
Next we need to remove the four feet and the six outer screws holding the bottom plate on. On my amp there is a seventh screw, but it is screw to a post that is screw into nothing.
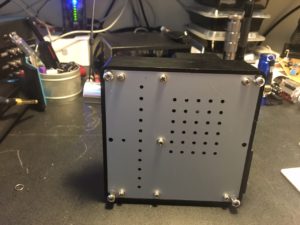
The four feet and six outer screws need to be removed to access the bottom
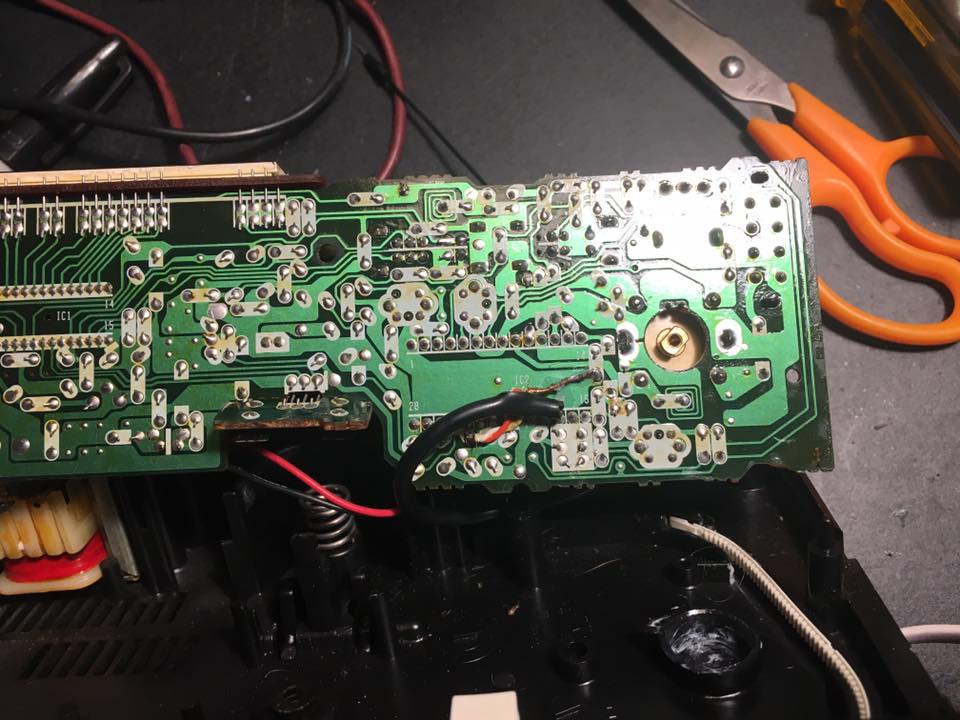
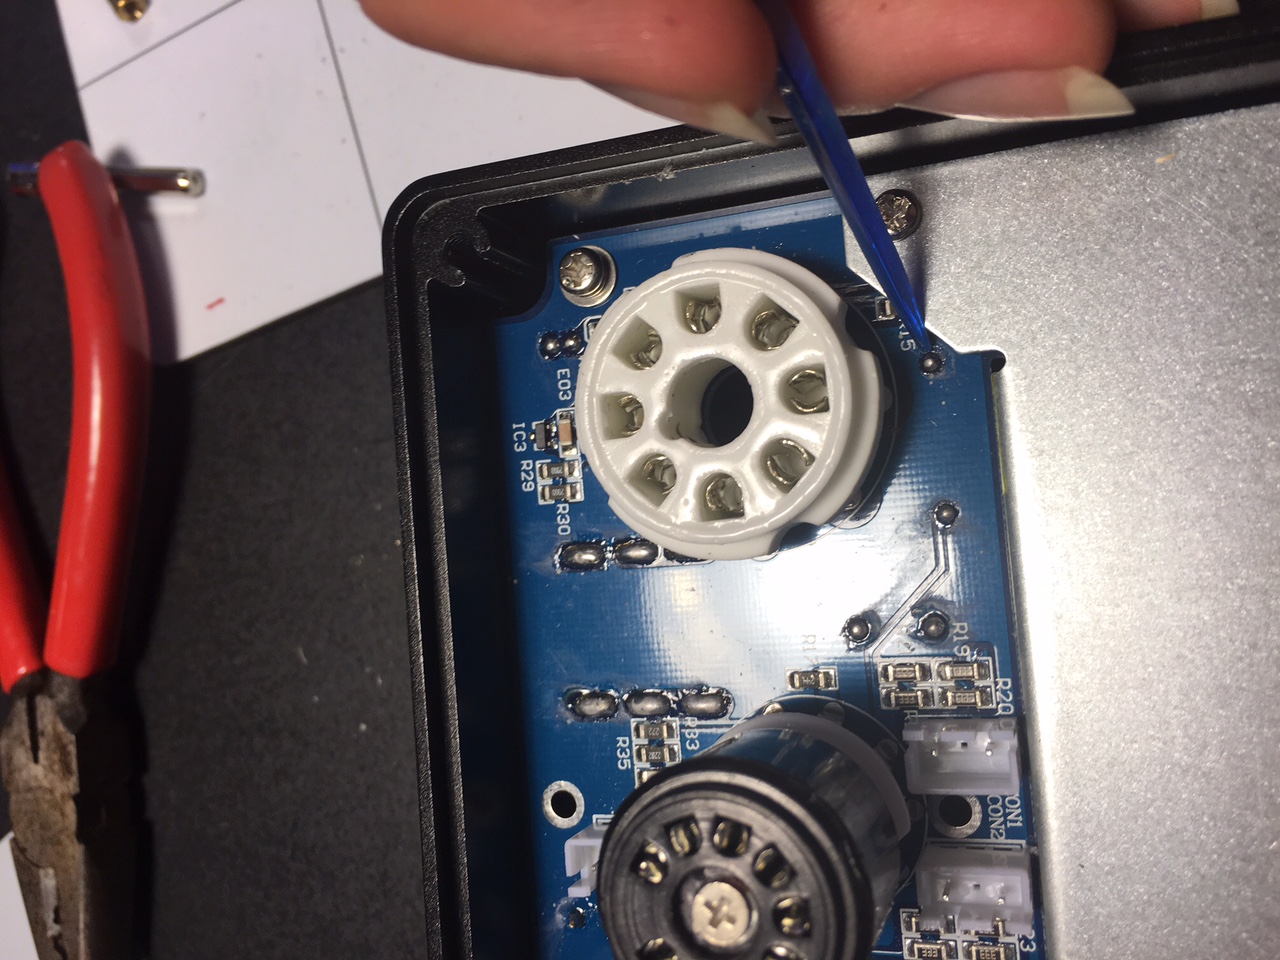
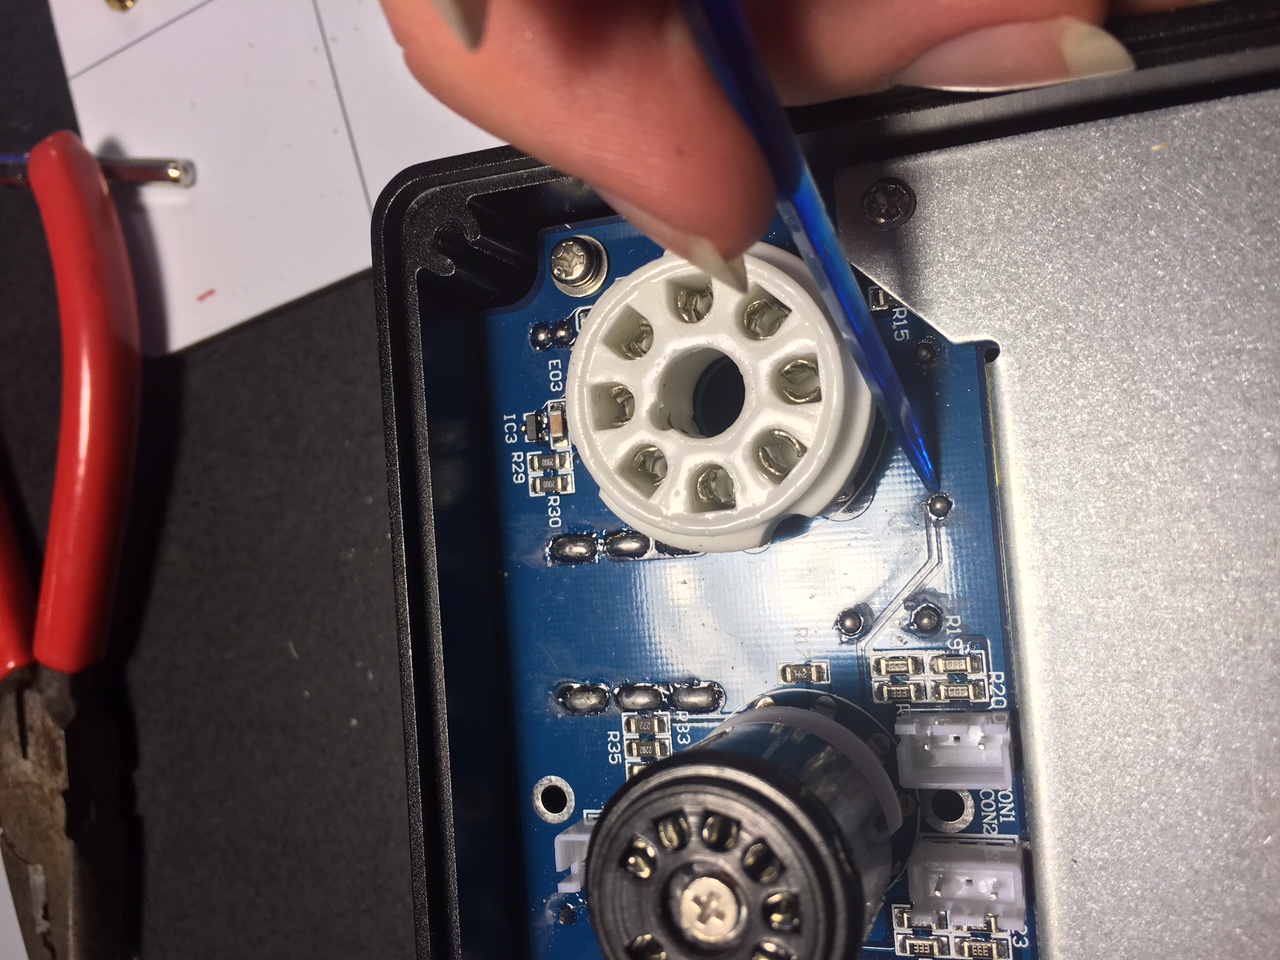
The bottom of the amp, exposing the two ceramic capacitors to swap
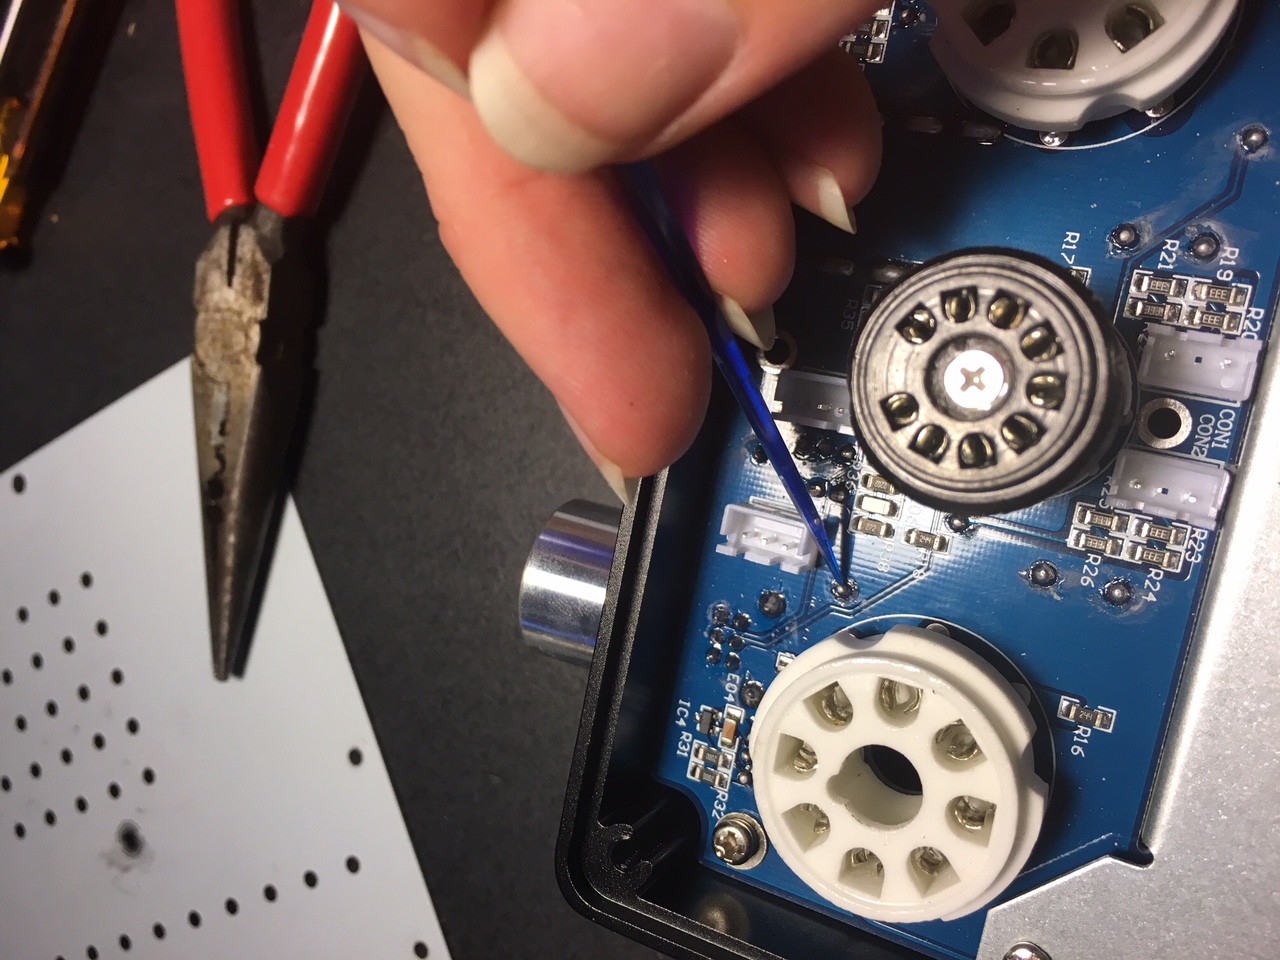
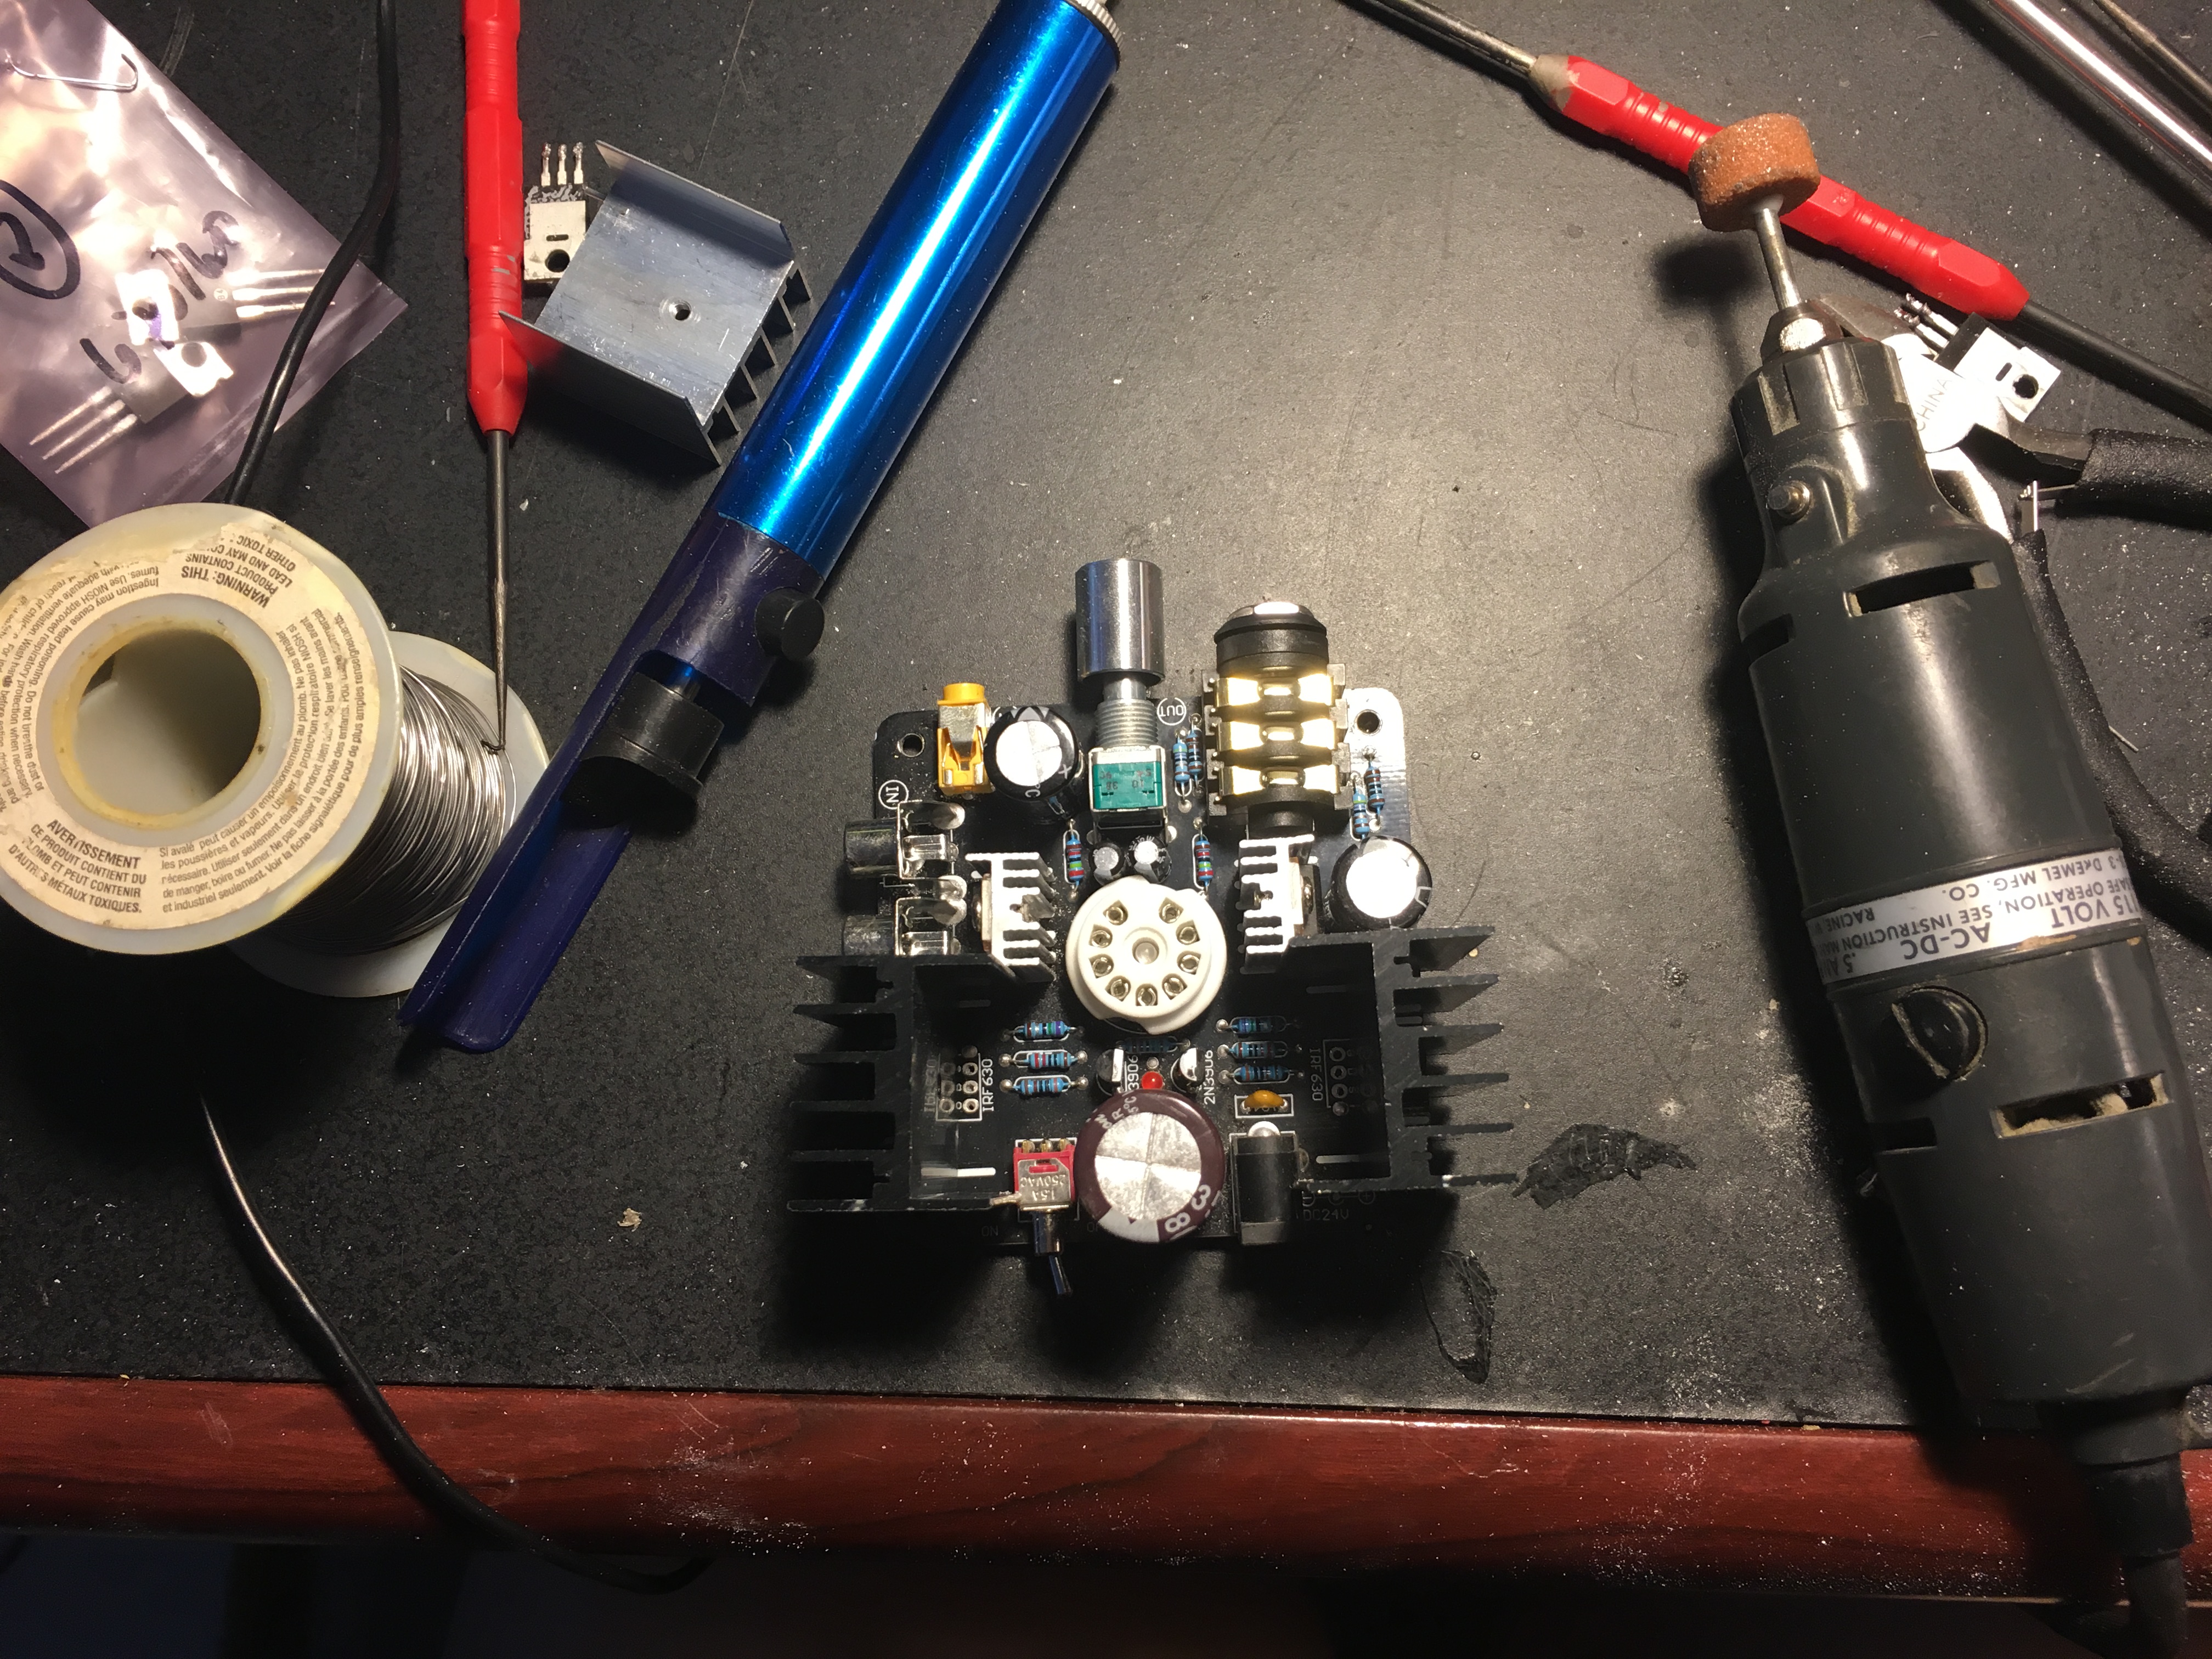
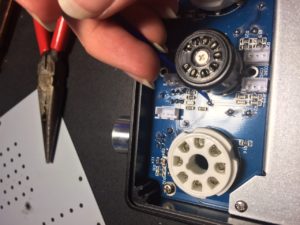
Next I de-soldered the two ceramic capacitors. The below images show the solder points that I hit with my de-soldering iron .


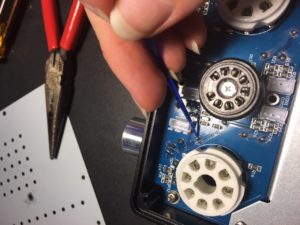
Finally the new capacitors were soldered onto the board and the board reassembled and tested.

Inter-stage capacitor upgrade complete. White ceramic 0.1uF 400V caps replaced with orange 0.47uF 400V caps.
Next I powered it up and verified that I didn’t short anything out before reassembling.
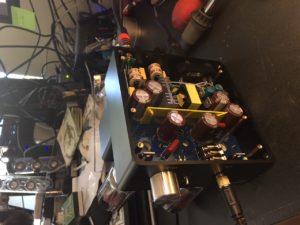

No fire, no sparks, the audio is clear, and my headphones sound great, time to reassemble and put back where it belongs.
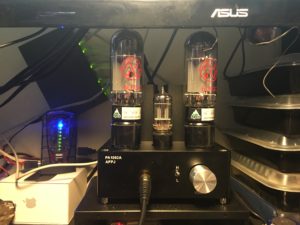
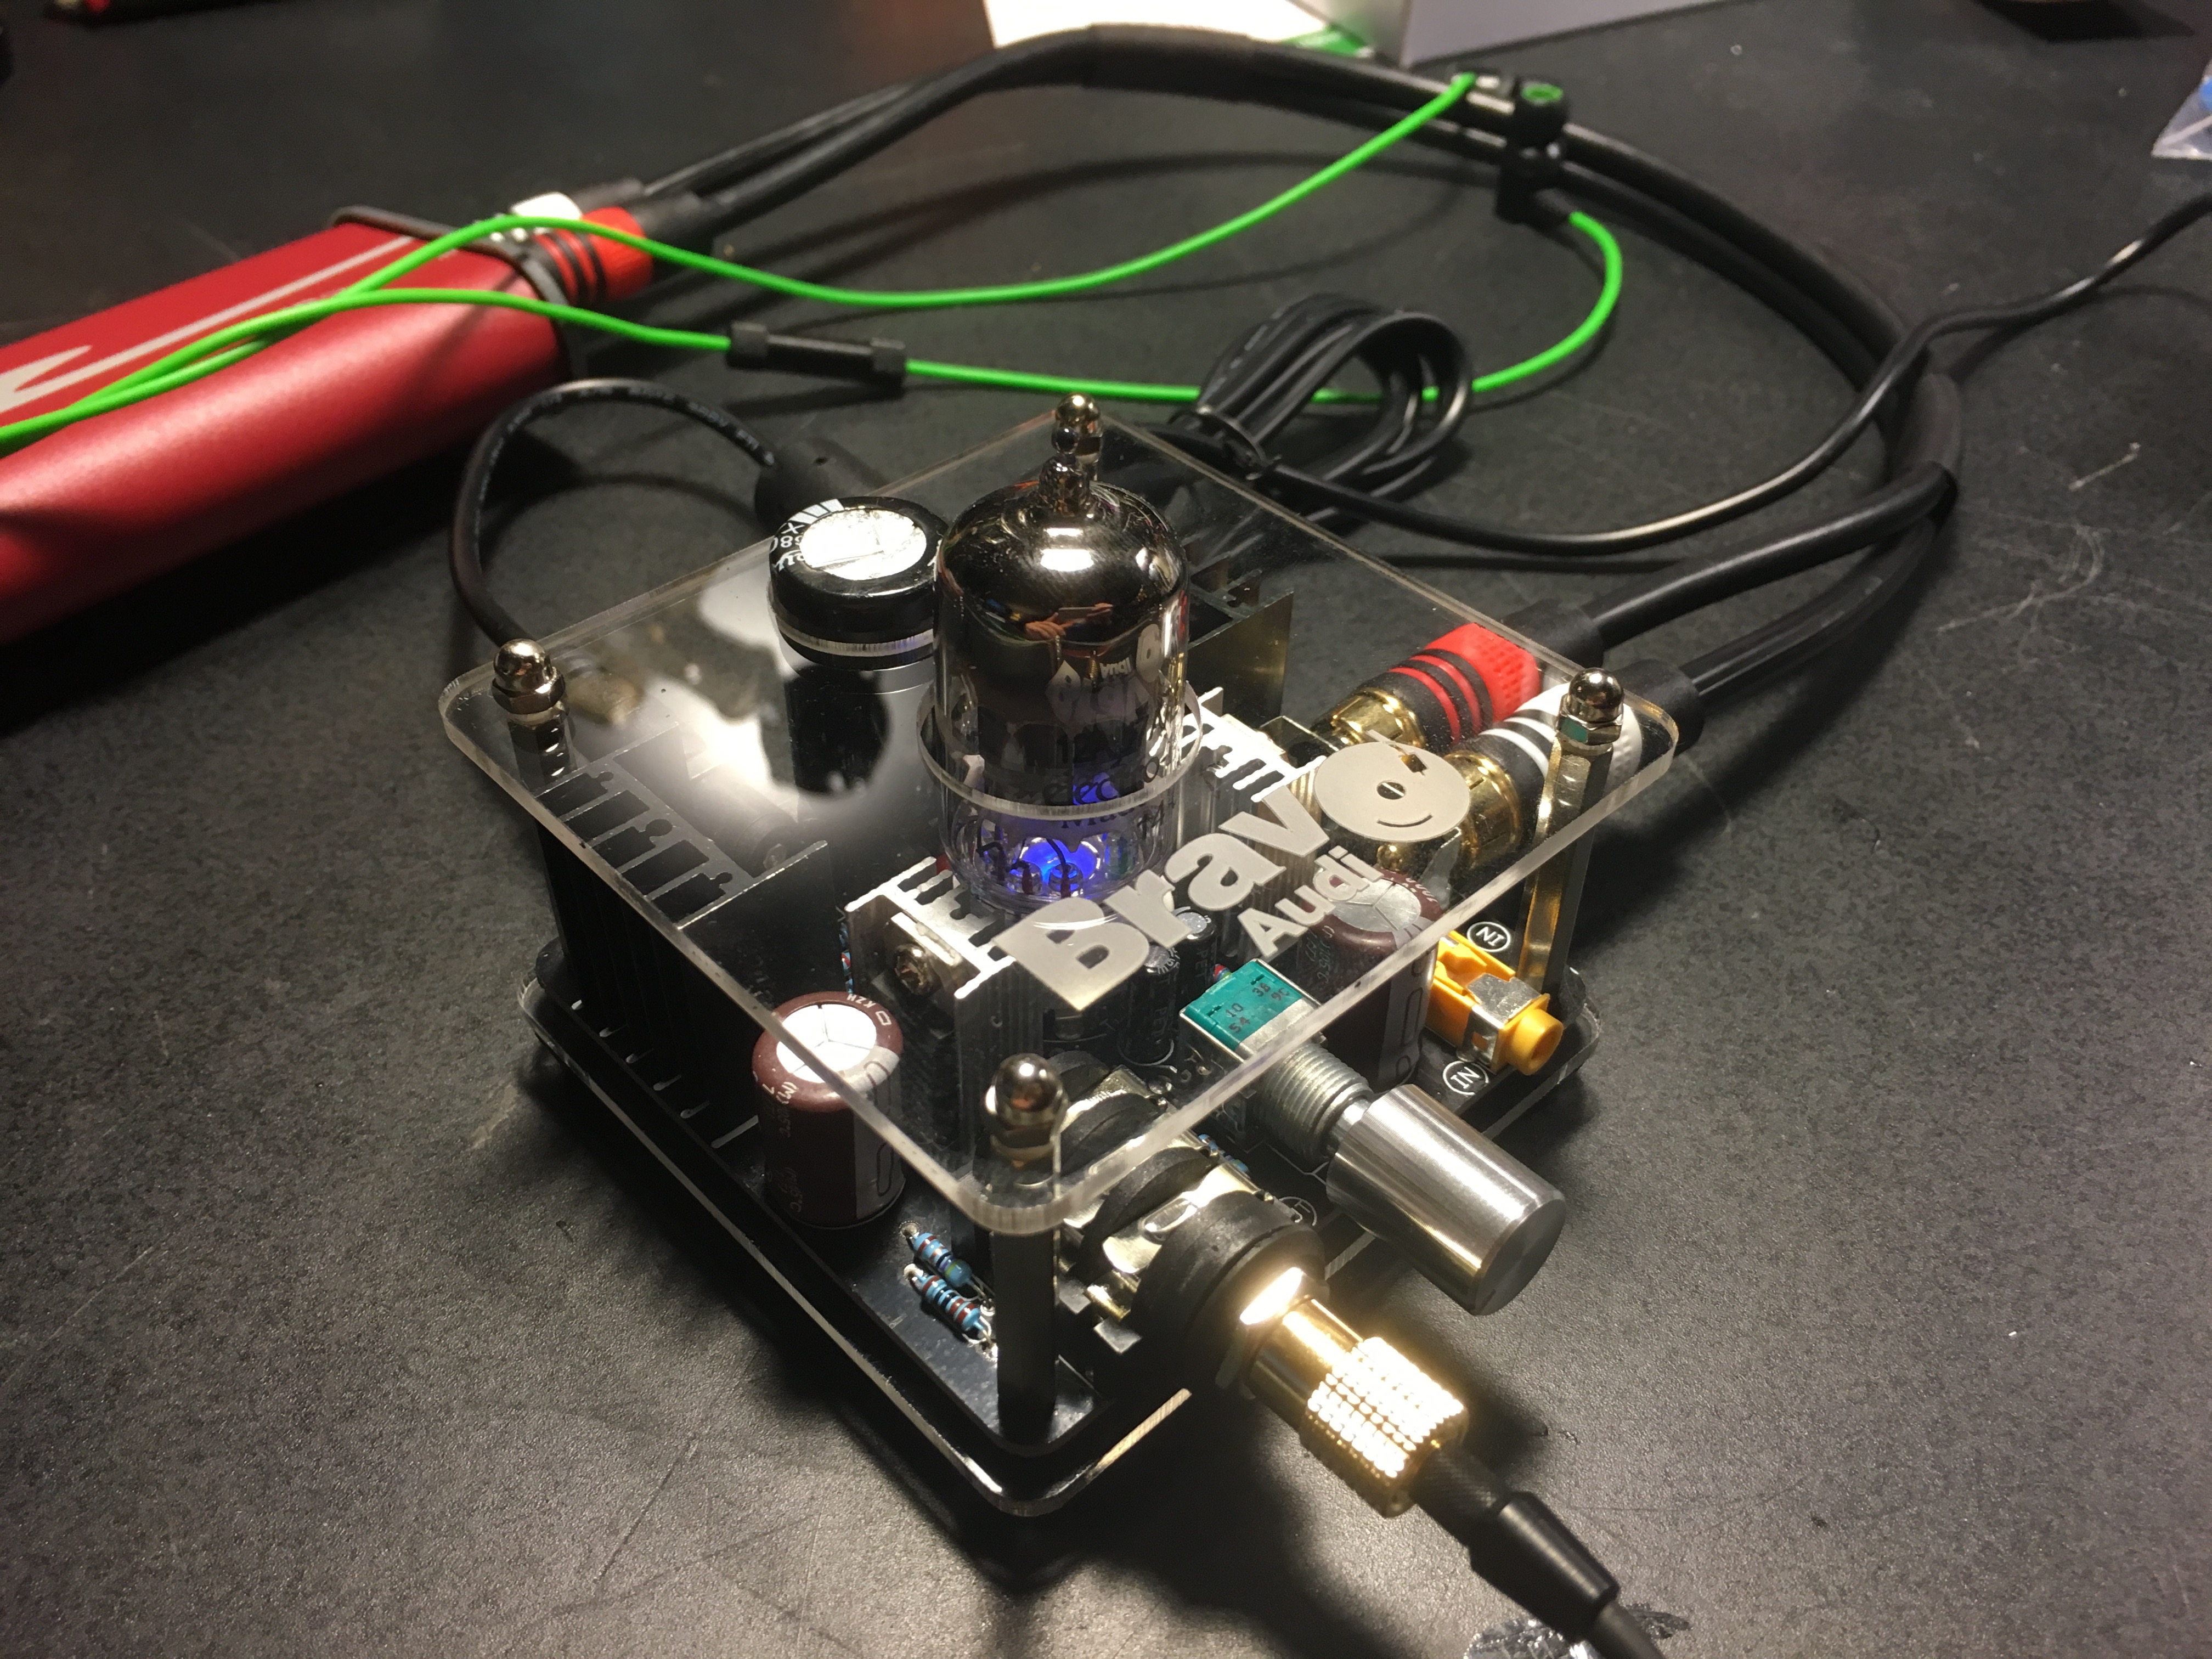
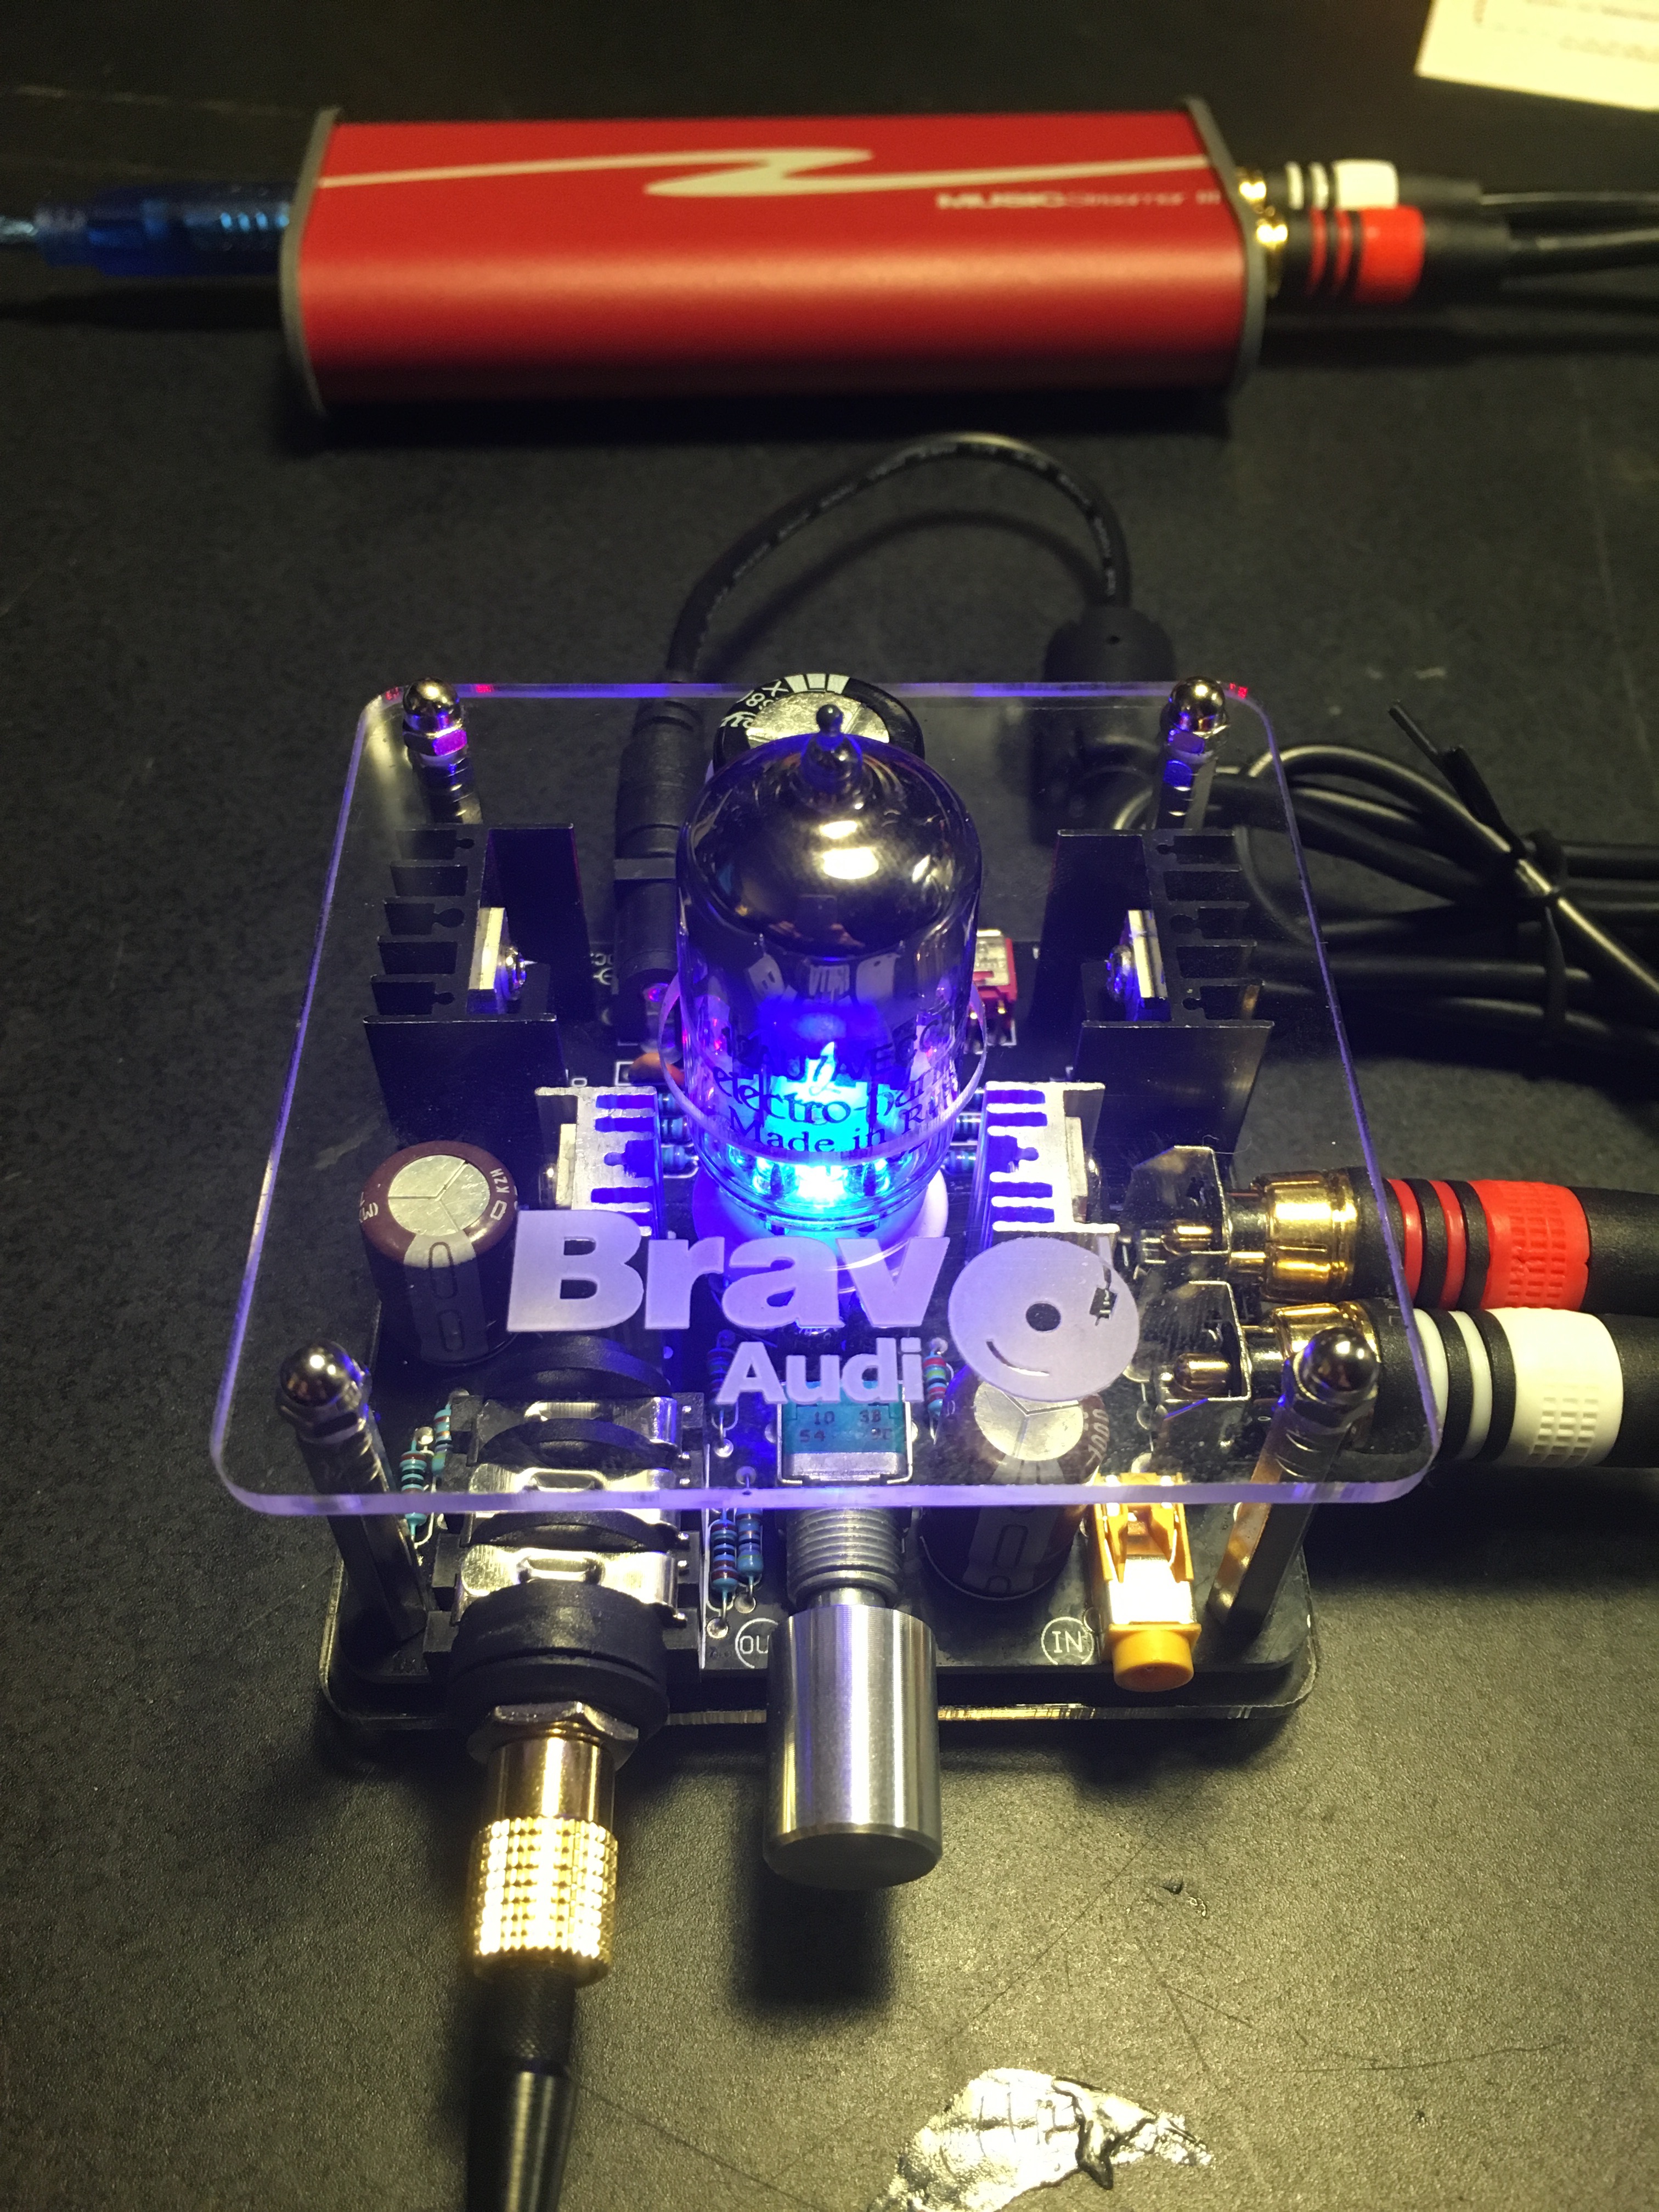
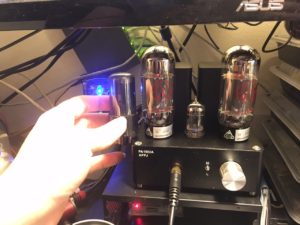
Gemtune APPJ PA1502A in use back where it belongs
Afterthoughts
I spoil myself with this amp, the clarity of the audio is almost startling. I have the amp paired up with a pair of Beyerdynamic DT990 600 ohm headphones. Not a combination that is bass heavy without the mods, but one that will provide some serious HD audio. I let my boyfriend listen to the amp while it was burning it, his eyes told me all I needed to know. Afterwards he described the experience as disturbingly HD, kinda like the first time watching a HD or 48fps movie, almost too lifelike. Goal achieved ^__^